SurveilStar Agent should be deployed to computers that are required to be monitored and controlled. The Agent can be installed in silence mode and run in stealth mode. There are 3 ways to deploy SurveilStar Agent to computers: Direct Installation, Remote Installation, and Logon Script Installation.
Adopting the Direct Installation method, you need to install the Agent one by one following these steps.
Step 1. Create SurveilStar Agent setup file
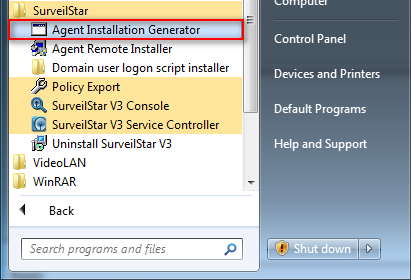
On the desktop of the server, click 【Start > All Programs > SurveilStar > Agent Installation Generator】.
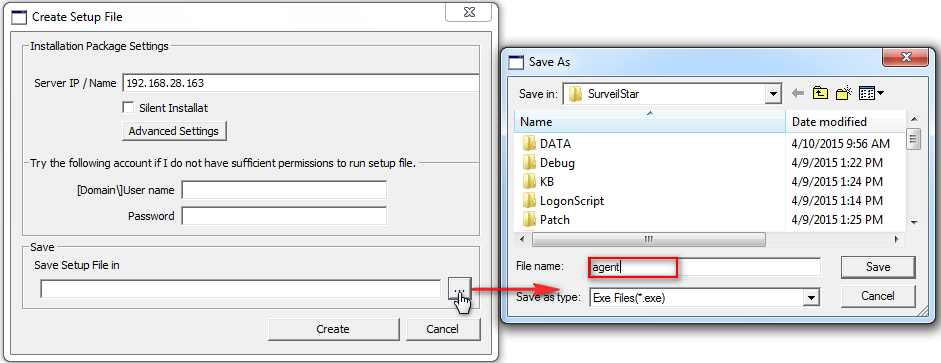
Agent Installation Package Settings.
1. Server IP/Name: IP address of the server. Static IP and Dynamic DNS are supported.
2. Silent Installation: If you check this option, the Agent will install without showing any visible interface on agent computers.
3. Account info: Installing SurveilStar Agent requires administrator privilege. Then you can try the account to run the setup file.
4. Save Setup File in: Choose a folder to save the setup file, and give it a file name.
Step 2. Copy the setup file to target computers.
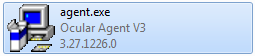
Step 3: Double-click the setup file to install the Agent.
Remote Installation can easily deploy SurveilStar Agent to a massive number of computers in remote and batch mode.
Step 1. Launch the remote installer
On the desktop of the server, click 【Start > All Programs >SurveilStar > Agent Remote Installer】 to start the installation.
Step 2. Scan network to find computers
By default, SurveilStar only scans computers from the server’s network segment. If you want to extend the searching area, go to menu 【File > Scanning Settings】, and specify an IP range. All computers available for remote installation will be listed with host name, domain name, operating system, IP address and install status, as showed bellow.

Color representation of the computer icons

Step 3. Select computers to install SurveilStar Agent
Tick the checkbox before the computer host name that you want to install the Agent on it, and then click the menu 【Operation > Install】 to start remote installation, or click the install icon ![]() alternatively.
alternatively.
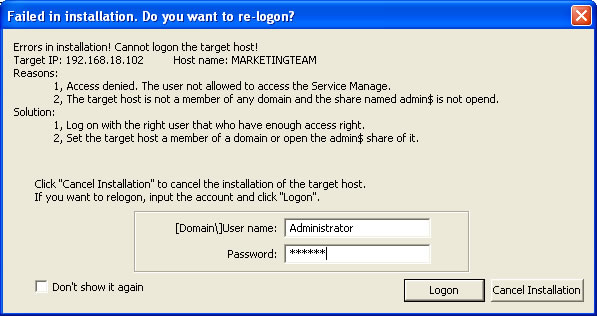
During installation, the administrator ingin and password are requited if the current logon session is not administrator.
(1) Administrator privilege needed.
If the target computer is protected by password, you need to provide the administrator name and password of that computer to proceed the installation, or the remote installation would fail. View the Remote Installation Logon Dialogue Box below.
(2) The admin account is not shared via network.
To see if the admin account (the ADMIN$ folder) is shared, you may use Command Prompt to check out the status.
On the desktop of Windows, click 【Start > All Programs > Accessories > Command Prompt】, input the command line "net share" , and you will see if the ADMIN$ folder is shared. Below is an example.
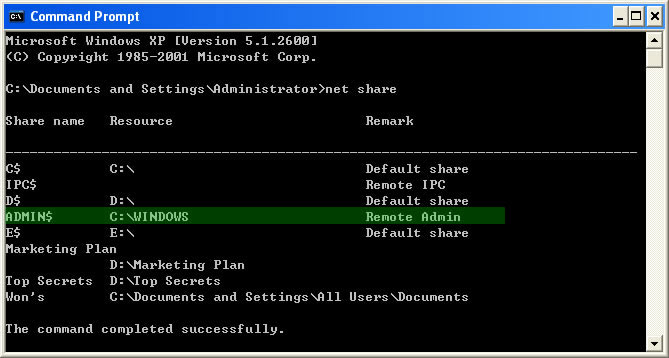
If the ADMIN$ is not listed, you can input "net share ADMIN$" to activate the account sharing. Below is an example.

(3) There is no shared folder in the target computer.
Even though it's remote installation, there should be a file folder that can be used by remote user to store the Agent program. Please check any shared folders functions is available. If not, please try to share a folder to invode this function. For example, right click a folder, select 【Properties > Sharing】. Then select 【Share this folder】. Input share name and define permission. Click 【OK】 to invoke the shared folder function.
Please Note:
1. Remote Installation only works on Windows NT4.0/2000/XP(X86/X64)/2003(X86/X64)/2008(X86/X64)/Vista(X86/X64)/Win7(X86/X64) systems. If you needs to install agents on Windows 9x/ME, you have to use Direct Installation method.
2. Remote Installation method does not 100% guarantee because it can fail sometimes due to the Windows NT local security settings. When Remote Installation fails, the best way is adopting the Direct Installation. If you have followed the above checking and fulfilled the requirements, but still failed, we would recommend using Direct Installation method.
If the local area network (LAN) of your company has a domain server, you can use this method to deploy the Agent to computers within the LAN.
Step 1. Download Script Manager
You can download Script Manger in either .rar or .zip file format.
Step 2. Put the Script Manager file folder to domain server
You may unzip the download RAR or ZIP package file, and then copy the Script Manager folder to the domain server. This folder should contain these files and document: LgnManV3.exe, IPGLgnV3.exe, and Readme.txt.
Step 3. Create a setup file of SurveilStar Agent
To create such agent, please refer to Direct Installation. The Agent setup file should be saved to the Script Manager folder as described in Step 2.
Step 4. Run LgnManV3.exe
Double-click the LgnManV3.exe executable file to open the Script Manager. The Logon Script Manager will automatically scan and show all computer users within the domain.
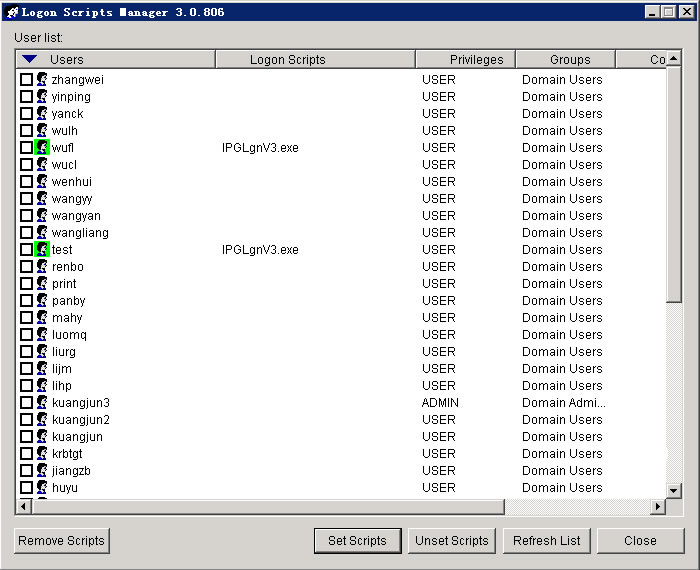
Step 5. Select computers
Tick the check box before the user name to select computers. You can select multiple users so that the installation can be done at one time.
Step 6. Set installation script to target computers
When the selection of target computers is finished, click the Set Scripts button at the bottom of the manager window.
Step 7. Auto-installation
When a selected computer logs on to the domain, the preset script will run automatically to install SurveilStar Agent to that computer in stealth mode.
| Installing SurveilStar Console | Back to Index | Uninstalling SurveilStar Server, Console or Agent |